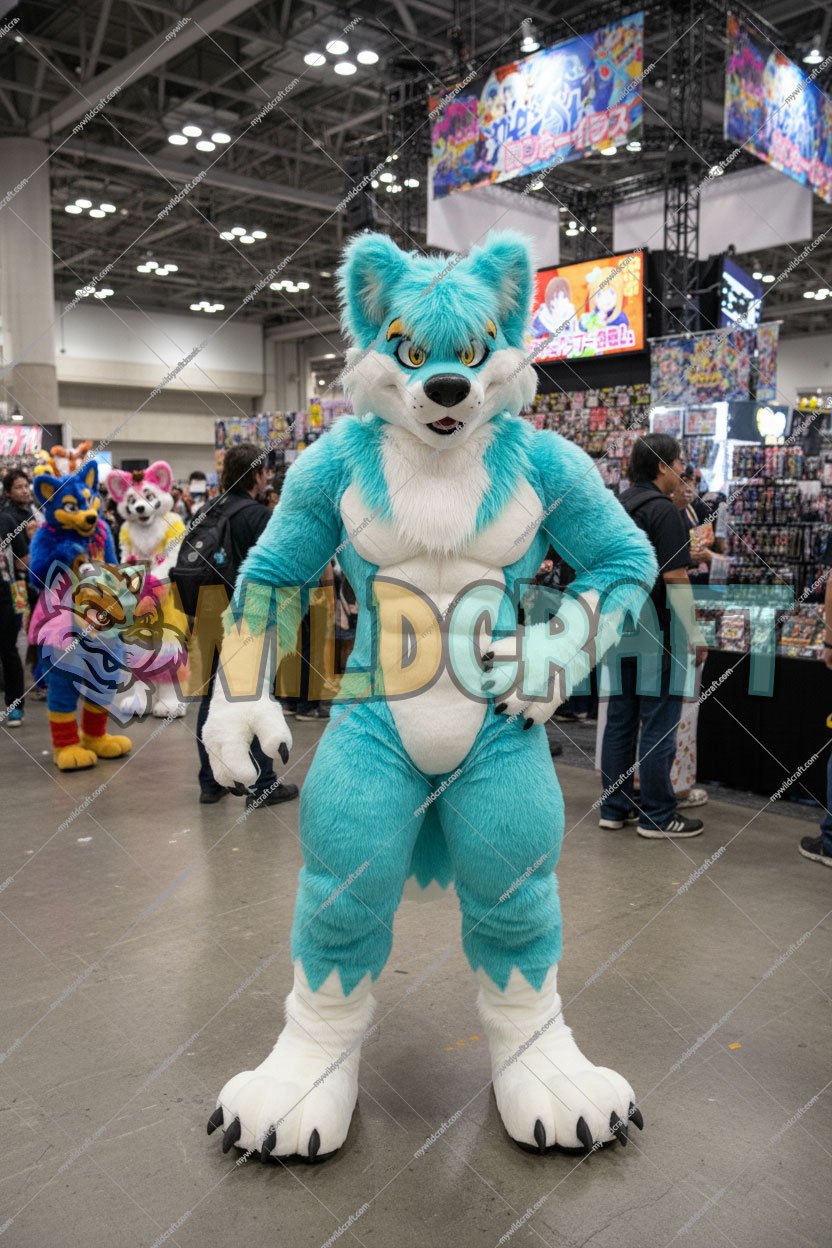
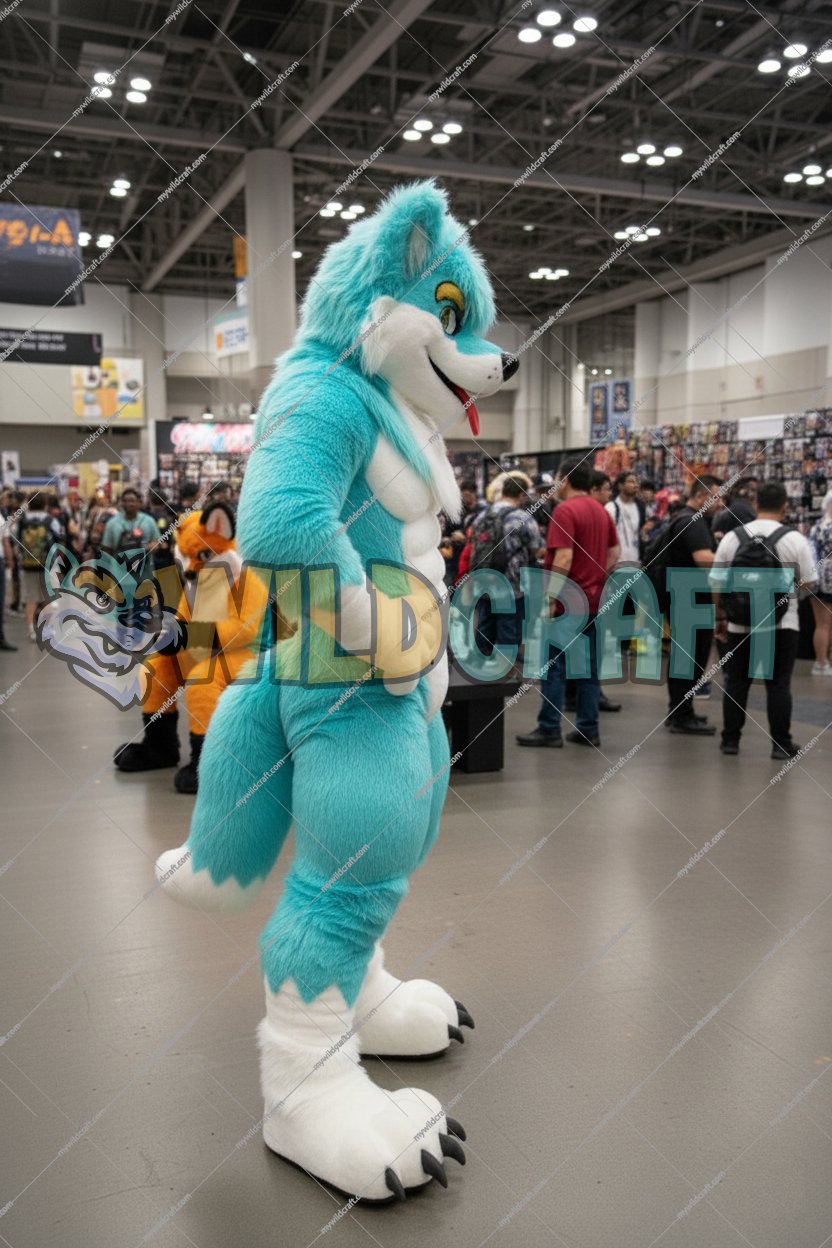
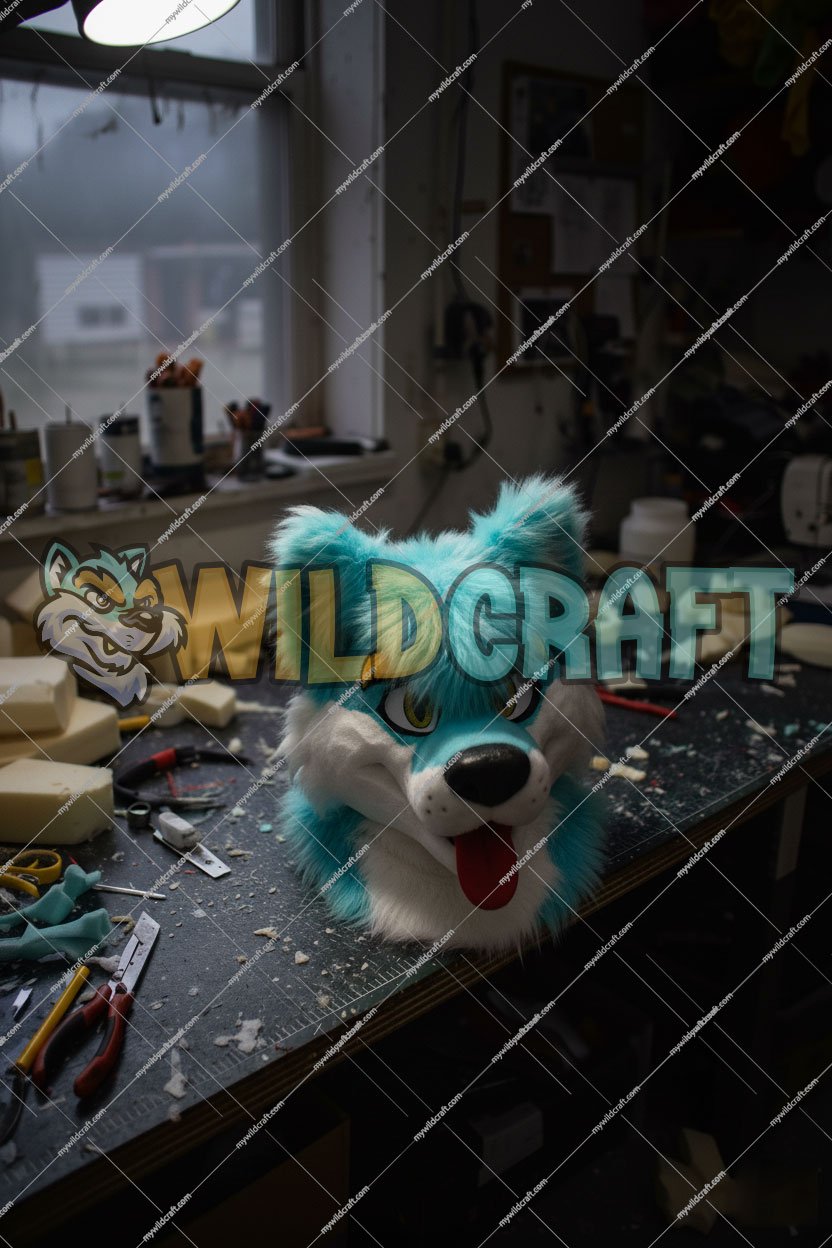
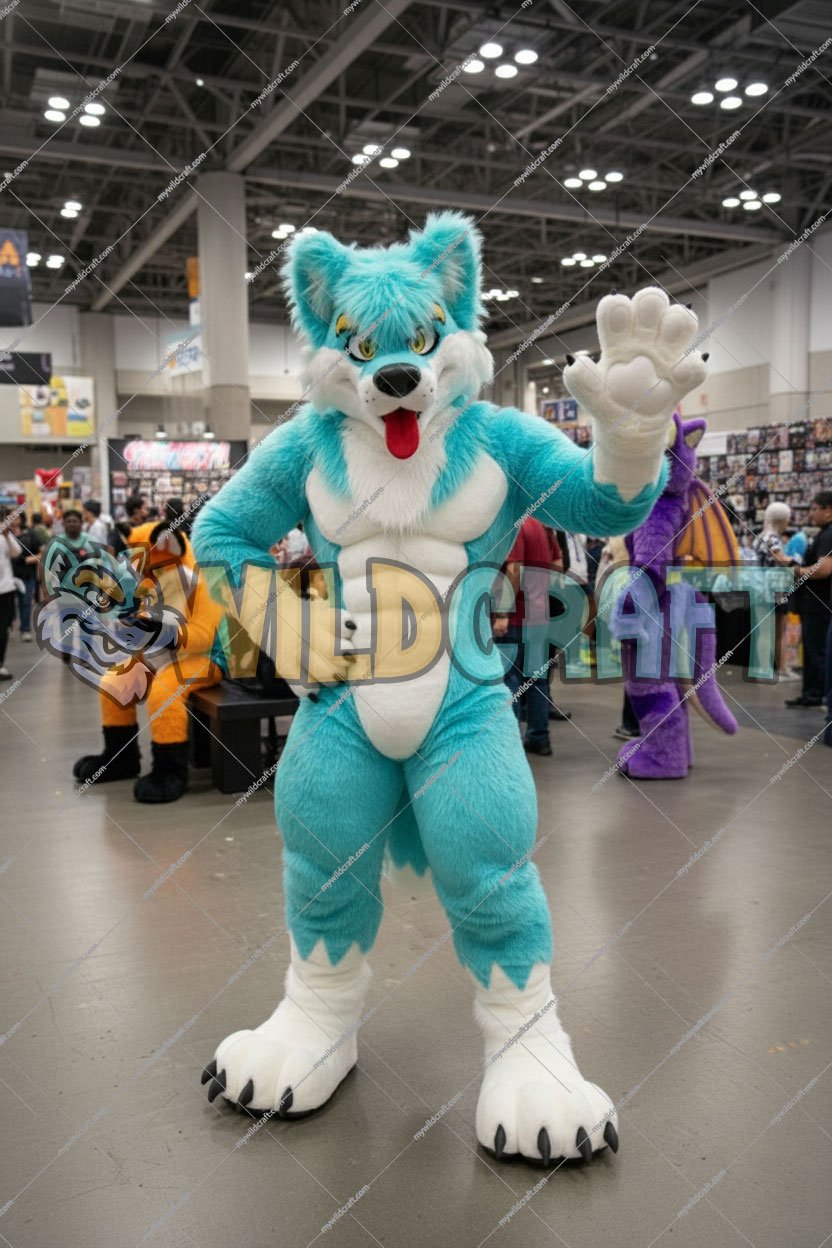
FENRIS, THE RAZE. Alpha. Apex. Werewolf. This isn't just a suit—it's a walking piece of wild, untamed power built on a heavy muscle padding and digitigrade base. Spot the brute with the savage snarl and removable magnetic tongue—he doesn't take selfies, he demands tribute.

Technical Features

Materials

  • High-quality faux fur material

Mechanics

  • Follow-Me Glass Eyes
  • Removable Magnetic Tongue

Structure

  • Full Digitgrade Padding

Client Details

Commission Type: Full Digitigrade

Client Handle: Dylan Wentzel

"I commissioned the bold Wolf Fursuit and couldn’t be happier. The craftsmanship is amazing, and the team was super flexible when I requested the foot padding removed last-minute. Fits great, looks incredible, and feels fantastic. They also gave a name to the suit Fenris the Raze."

— Dylan Wentzel

View Creation Timeline ↓

1. The Client's Vision & Challenge

The client's vision for Fenris, The Raze was to transform a set of demanding physical requirements into the ultimate imposing fursuit, presenting significant technical challenges in foam carving and proportioning. The core vision was to create a werewolf-inspired alpha figure defined by its sheer muscle mass and predatory aura, specifically requiring a full padded suit that incorporates a highly athletic silhouette over a wearer who is 70 inches tall with specific body measurements. The main challenge lay in successfully executing the digitigrade leg padding to create the authentic, bent-kneed, beast-like stance while ensuring the suit was still balanced and wearable. Furthermore, incorporating highly detailed, custom features like the removable magnetic tongue/gums added layers of complexity to the fursuit head fabrication, demanding precision craftsmanship to maintain both realism and durability.The core vision was to create a werewolf-inspired alpha figure defined by its sheer muscle mass and predatory aura, specifically requiring a full padded suit that incorporates a highly athletic silhouette over a wearer who is 70 inches tall with specific body measurements. The main challenge lay in successfully executing the digitigrade leg padding to create the authentic, bent-kneed, beast-like stance while ensuring the suit was still balanced and wearable. Furthermore, incorporating highly detailed, custom features like the removable magnetic tongue/gums added layers of complexity to the fursuit head fabrication, demanding precision craftsmanship to maintain both realism and durability.

Wild Craft's Solution (The Build Process)

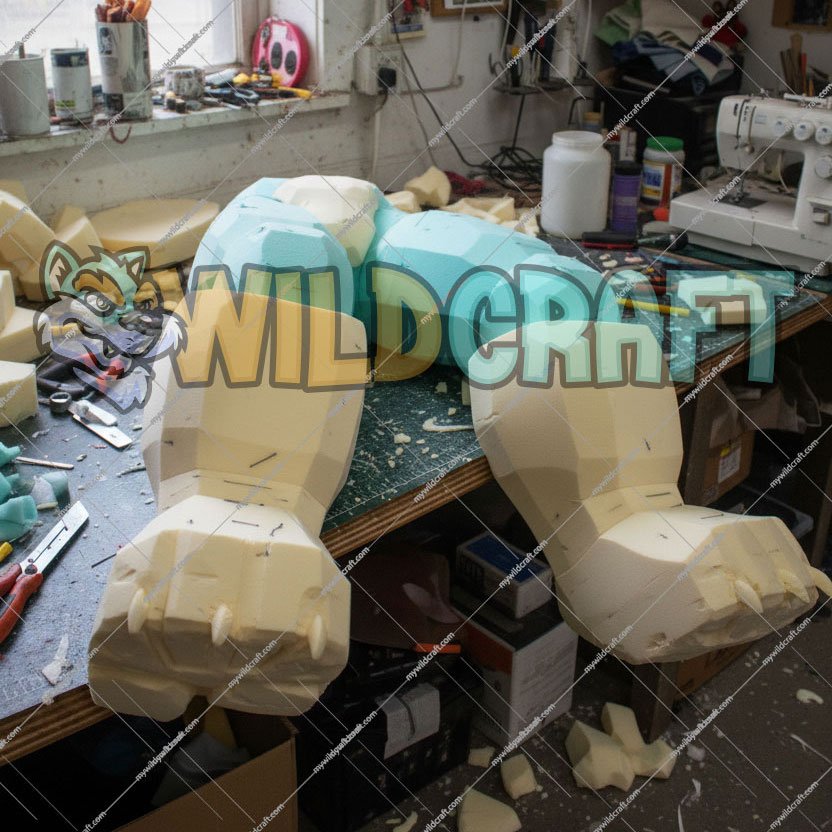
The solution provided by Wildcraft, as implied by the demanding design, centered on precision engineering in foam to realize the "muscle wolf" vision of Fenris, The Raze. The build process started with high-density upholstery foam, which was essential for holding the hyper-muscular, athletic contours of the chest, abs, and shoulders without collapsing under the weight of the fur. The greatest technical hurdle was the digitigrade leg assembly; this required expertly cutting and sculpting foam blocks to mimic an animal's bent-knee posture while being perfectly scaled to the 70-inch client to maintain comfortable mobility. This intricate foam work provided the robust, sculpted base for the character, ensuring the impressive physique and predatory stance were prominent even before the fur and final, custom elements—like the precision-fitted removable magnetic tongue/gums—were added to complete the transformation into the fearsome alpha.

The Fursuit Journey

1

Phase 1: Concepting & Blueprints

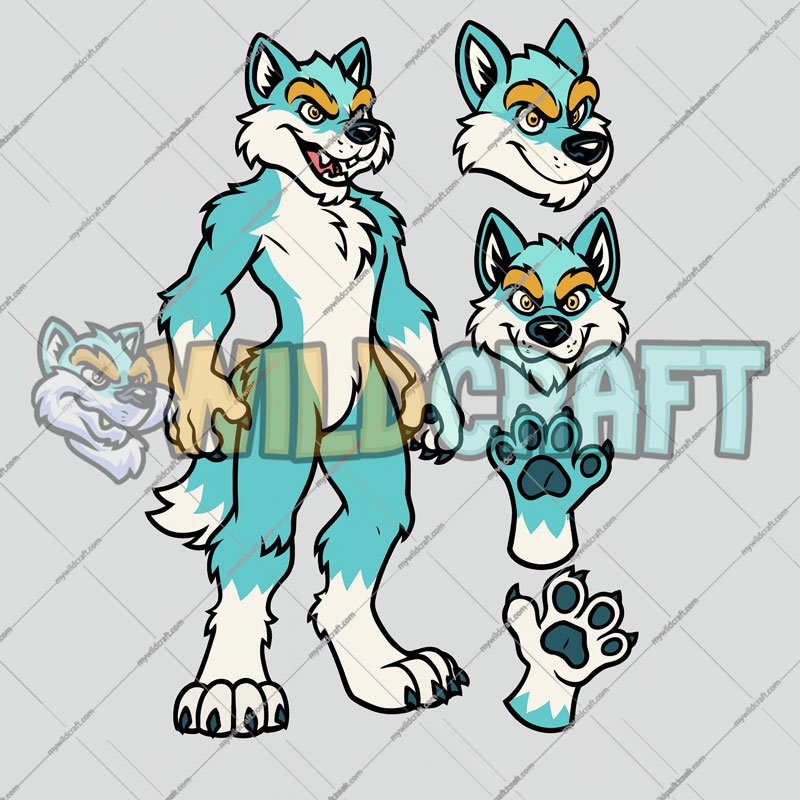
  • Client provides all critical information (e.g., the name Fenris, The Raze, desired colors, and specific features like the digitigrade padding and the removable magnetic tongue/gums).
  • The assigned artist creates 3-5 rough, quick sketches of the character, focusing on the main view, a side view, and a head concept.
  • These sketches establish the overall proportions and pose (e.g., the muscular physique and aggressive stance).
  • Client checkpoint: The artist sends the sketches for client approval. We confirm the direction before moving to line work.
Phase 1: Concepting & Blueprints
2

Phase 2: Preparing Foam Head Base for Approval

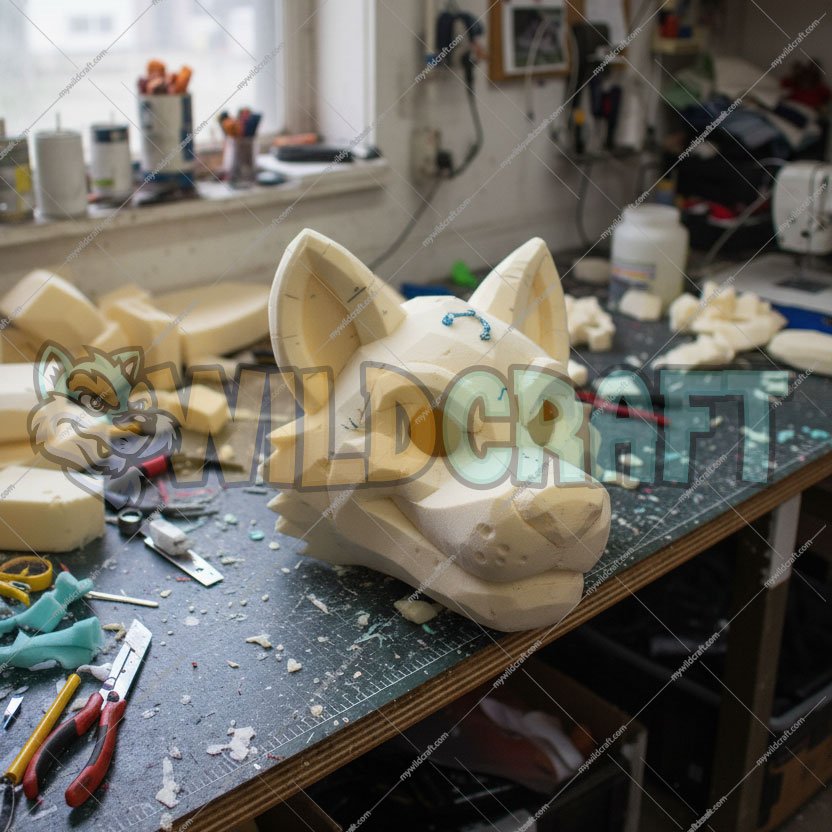
  • Head Patterning & Rough Cut: A digital or physical pattern is scaled to fit the wearer's head and neck measurements. The technician uses this pattern to rough-cut the high-density upholstery foam pieces for the main muzzle, skull, and cheek sections.
  • Assembly & Structural Integrity:  Foam pieces are assembled using hot glue or contact cement to form the hollow base. Internal supports (like a simple foam harness) are built in to ensure the head fits securely and is comfortable for the wearer.
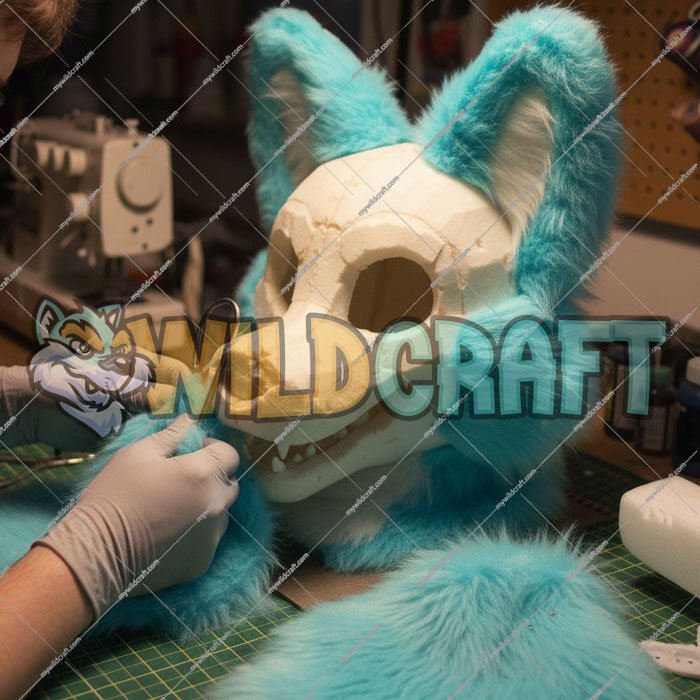
  • Artistic Sculpting:  The foam artist meticulously carves and sculpts the rough base using electric knives and rotary tools to create the refined, muscular canine facial structure for Fenris, including the brow, muzzle snarl, and defined jawline.
  • Feature Integration:  Technicians precisely cut and install the foam for the eye sockets and the rigid structure for the teeth and gums. This is where the magnets for the removable tongue/gums are embedded into the foam structure.
Phase 2: Preparing Foam Head Base for Approval
3

Phase 3: Digitigrade Leg & Knee Padding

This build method uses precise measurements and smart internal support to create Fenris/Raze-style digitigrade padding without needing a duct-tape dummy.

  • Scaled Base Pattern: Start with a digitigrade bodysuit pattern (commercial or self-drafted) and scale it to the wearer’s height, waist, and inseam. The base suit is usually made from non-stretch or low-stretch mesh so it holds shape but still moves with the body.
  • Internal Support Harness: Instead of shaping foam directly on someone, install a simple internal harness system using nylon straps or elastic. Anchor it at the waist and shoulders — this keeps the padding lifted and stops the foam from sagging or shifting during wear.
  • Foam Block Layout: Cut high-density upholstery foam into clean, uniform blocks using the scaled pattern as a guide. Arrange the blocks across the legs to build full 360° volume for that big, powerful werewolf silhouette.
  • Rough Shape & Sculpt: Put the mesh suit on a mannequin or adjustable dress form set to the client’s key measurements. Pin the foam blocks in place, then carve and shape them to get the dramatic digitigrade curve — especially that nice backward sweep in the lower leg.
  • Knee Flex Consideration: Make sure the foam around the back of the knee has clearance and flex. You want movement without compression or friction — otherwise the foam breaks down faster and the wearer’s range of motion sucks.
  • Modular Insert System: Once you love the shape, pattern the foam and turn it into removable “pillow-style” inserts. These drop into the final bodysuit and can come out for washing, transport, or long-term storage. Modular makes your life way easier.
Phase 3: Digitigrade Leg & Knee Padding
4

Phase 4: Sewing, Trimming and Attachment.

To finish the build, the fur shell is sewn together using clean curved seams that follow the digitigrade sculpt, keeping pile direction correct and trimming seam allowances to prevent bulk, then the completed fur layer is slipped over the foam inserts and test-fitted while adjusting darts and shaping seams for a smooth, natural leg contour. Once the shape is locked in, the fur shell is integrated with the bodysuit by adding interior anchor points like elastic loops, hidden snaps, or Velcro tabs that connect to the internal harness straps, ensuring the padding stays lifted and aligned without restricting movement.

The harness system—typically nylon webbing at the shoulders and waist—supports weight and keeps muscle forms from shifting during walking, jumping, or crouching, while ventilation is managed by leaving breathable zones in the mesh base suit, cutting hidden vents behind knees and inner thighs, and optionally using perforated foam or mesh-lined fur panels in high-heat areas. Inside the suit, a smooth stretch lining (like performance lycra or athletic mesh) prevents rubbing and makes donning easier, while zippers are planned along low-stress seams such as the back, inner thigh, or side body line, depending on suit style, often paired with concealed magnet or Velcro closures for access to the padding compartments. Together, this setup keeps the padding modular, breathable, and secure, giving the wearer mobility, comfort, and maintenance access without sacrificing the crisp digitigrade silhouette.

Phase 4: Sewing, Trimming and Attachment.

Ready to Start Your Commission?

Our commission queue is currently: **OPEN** (Whatsapp us for specific status changes.)

Apply Now to the Queue